Introduction
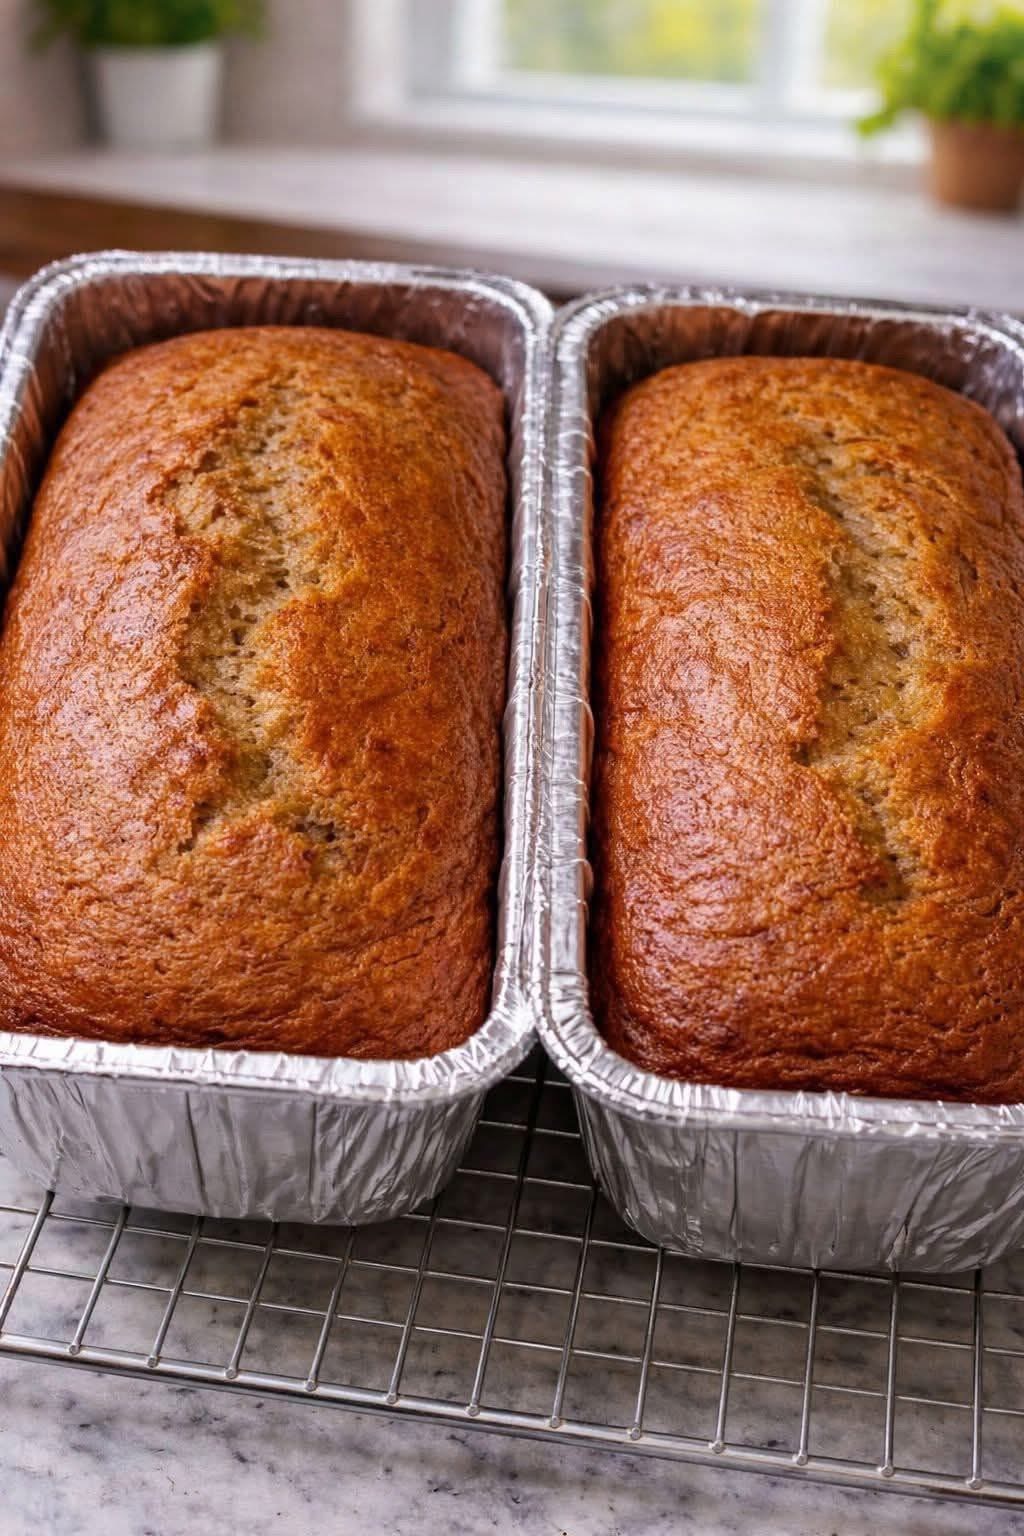
There is something deeply comforting about a warm slice of banana bread—moist, tender, and packed with sweet banana flavor. This Banana Bread Loaf is the ultimate classic, made with simple pantry ingredients and ripe bananas that transform into something magical in the oven. The addition of cornstarch gives it an extra-soft, tender crumb that stays moist for days. Whether you’re using up overripe bananas on the counter, baking for a weekend breakfast, or simply craving a cozy homemade treat, this recipe is foolproof, forgiving, and absolutely delicious. Serve it warm with butter, and you’ll understand why banana bread never goes out of style.
Ingredients
· 1½ cups mashed bananas (about 3 large ripe bananas)
· 1⅔ cups all-purpose flour
· 2 tbsp cornstarch
· 1 tsp baking powder
· ¾ tsp baking soda
· ½ tsp salt
· ½ cup unsalted butter, melted (or vegetable oil)
· ¾ cup granulated sugar (or brown sugar for deeper flavor)
· 2 large eggs
· 1 tsp vanilla extract
· ½ cup sour cream or plain yogurt (optional, for extra moisture)
· Optional: ½ cup chopped walnuts, pecans, or chocolate chips
Instructions
Step 1: Preheat and Prep
Preheat the oven to 350°F (175°C). Grease a 9×5-inch loaf pan and line it with parchment paper, leaving an overhang for easy removal.
Step 2: Mash the Bananas
In a large bowl, mash the ripe bananas with a fork until smooth. A few small lumps are fine—they add texture.
Step 3: Mix the Wet Ingredients
Add the melted butter, sugar, eggs, vanilla extract, and sour cream (if using) to the mashed bananas. Whisk until well combined.
Step 4: Combine the Dry Ingredients
In a separate bowl, whisk together the flour, cornstarch, baking powder, baking soda, and salt. This ensures the leaveners are evenly distributed.
Step 5: Combine Wet and Dry
Pour the dry ingredients into the wet ingredients. Gently fold with a spatula until just combined—do not overmix, or the bread will be tough. If using nuts or chocolate chips, fold them in now.
Step 6: Bake
Pour the batter into the prepared loaf pan and smooth the top. Bake for 55–65 minutes, until a toothpick inserted into the center comes out clean or with a few moist crumbs. If the top browns too quickly, tent it loosely with foil after 40 minutes.
Step 7: Cool and Serve
Let the bread cool in the pan for 10 minutes, then transfer to a wire rack to cool completely. Slice and serve warm or at room temperature.
Methods
Method 1: Classic Oven Bake (as written above)
Best for a moist, tender loaf with a beautiful golden crust.
Method 2: Muffin Version
Pour the batter into a lined muffin tin and bake at 350°F (175°C) for 18–22 minutes. Makes about 12 muffins.
Method 3: Mini Loaves
Divide the batter among 4 mini loaf pans and bake for 30–35 minutes. Perfect for gifting.
Method 4: Air Fryer
Pour the batter into a small oven-safe pan and air fry at 320°F (160°C) for 30–35 minutes, until a toothpick comes out clean.
Method 5: Gluten-Free
Substitute the all-purpose flour with a 1:1 gluten-free flour blend. Add ½ tsp xanthan gum if the blend doesn’t contain it.
History
Banana bread has its roots in the Great Depression of the 1930s, when households were looking for ways to use up overripe bananas instead of throwing them away. The invention of baking soda and baking powder as reliable leaveners made it possible to create a quick bread that didn’t require yeast or long rising times. The first banana bread recipe appeared in American cookbooks in the 1930s, and it quickly became a household staple. During World War II, banana bread grew even more popular as sugar and butter rationing forced home cooks to get creative with their baking. Today, banana bread is a beloved comfort food around the world, with endless variations—from chocolate chip to peanut butter to cream cheese-filled. This recipe, with its addition of cornstarch for tenderness, is a modern twist on a timeless classic.
Benefits
· Uses Up Ripe Bananas: The perfect solution for overripe bananas.
· Simple Ingredients: Basic pantry staples you likely already have.
· Budget-Friendly: Bananas, flour, sugar, and eggs are all inexpensive.
· Moist and Tender: Cornstarch and sour cream keep it soft for days.
· Versatile: Add nuts, chocolate chips, or spices to customize.
· Freezer-Friendly: Freezes beautifully for up to 3 months.
· Kid-Friendly: A sweet, mild flavor that kids love.
· Great for Gifting: Wrap a loaf in parchment and ribbon for a thoughtful gift.
Variations
· Chocolate Chip Banana Bread: Fold in 1 cup chocolate chips.
· Walnut Banana Bread: Add ½ cup chopped walnuts for crunch.
· Peanut Butter Banana Bread: Add ½ cup peanut butter to the wet ingredients.
· Cinnamon Swirl: Swirl a cinnamon-sugar mixture into the batter before baking.
· Blueberry Banana Bread: Fold in 1 cup fresh or frozen blueberries.
· Coconut Banana Bread: Add ½ cup shredded coconut and replace sour cream with coconut yogurt.
· Vegan: Use flax eggs and coconut oil instead of butter and eggs.
· Gluten-Free: Use a 1:1 gluten-free flour blend.
Conclusion
This Banana Bread Loaf is everything you want in a homemade quick bread—moist, tender, sweet, and deeply comforting. The cornstarch gives it an incredibly soft crumb, while the ripe bananas provide natural sweetness and flavor. It’s the kind of recipe that becomes a family tradition, passed down and tweaked over the years. Whether you enjoy it fresh from the oven with a smear of butter, toasted for breakfast, or sliced cold as a snack, this banana bread delivers every time. It’s simple, satisfying, and the perfect way to turn humble ingredients into something truly special.
For the Lovers
For those who truly adore banana bread, here are the best ways to enjoy it:
· The Warm Slice: Serve warm with a pat of butter and a drizzle of honey.
· The Breakfast Upgrade: Toast a slice and top with peanut butter, banana slices, and a sprinkle of cinnamon.
· The French Toast Twist: Dip slices in egg and milk, then pan-fry for banana bread French toast.
· The Dessert Plate: Serve with a scoop of vanilla ice cream and caramel sauce.
· The Coffee Companion: Pair with a hot cup of coffee or chai latte.
· The Leftover Lover: Store in an airtight container at room temperature for up to 4 days, or refrigerate for up to a week. It gets even more moist as it sits.
· The Gift: Wrap a loaf in parchment paper and tie with twine for a homemade gift.
Final Methods Recap
· Method 1: Classic Oven Bake—mix wet and dry ingredients, bake at 350°F (175°C) for 55–65 minutes.
· Method 2: Muffin Version—bake at 350°F (175°C) for 18–22 minutes.
· Method 3: Mini Loaves—bake at 350°F (175°C) for 30–35 minutes.
· Method 4: Air Fryer—bake at 320°F (160°C) for 30–35 minutes.
· Method 5: Gluten-Free—use 1:1 gluten-free flour blend and add xanthan gum if needed.