Introduction
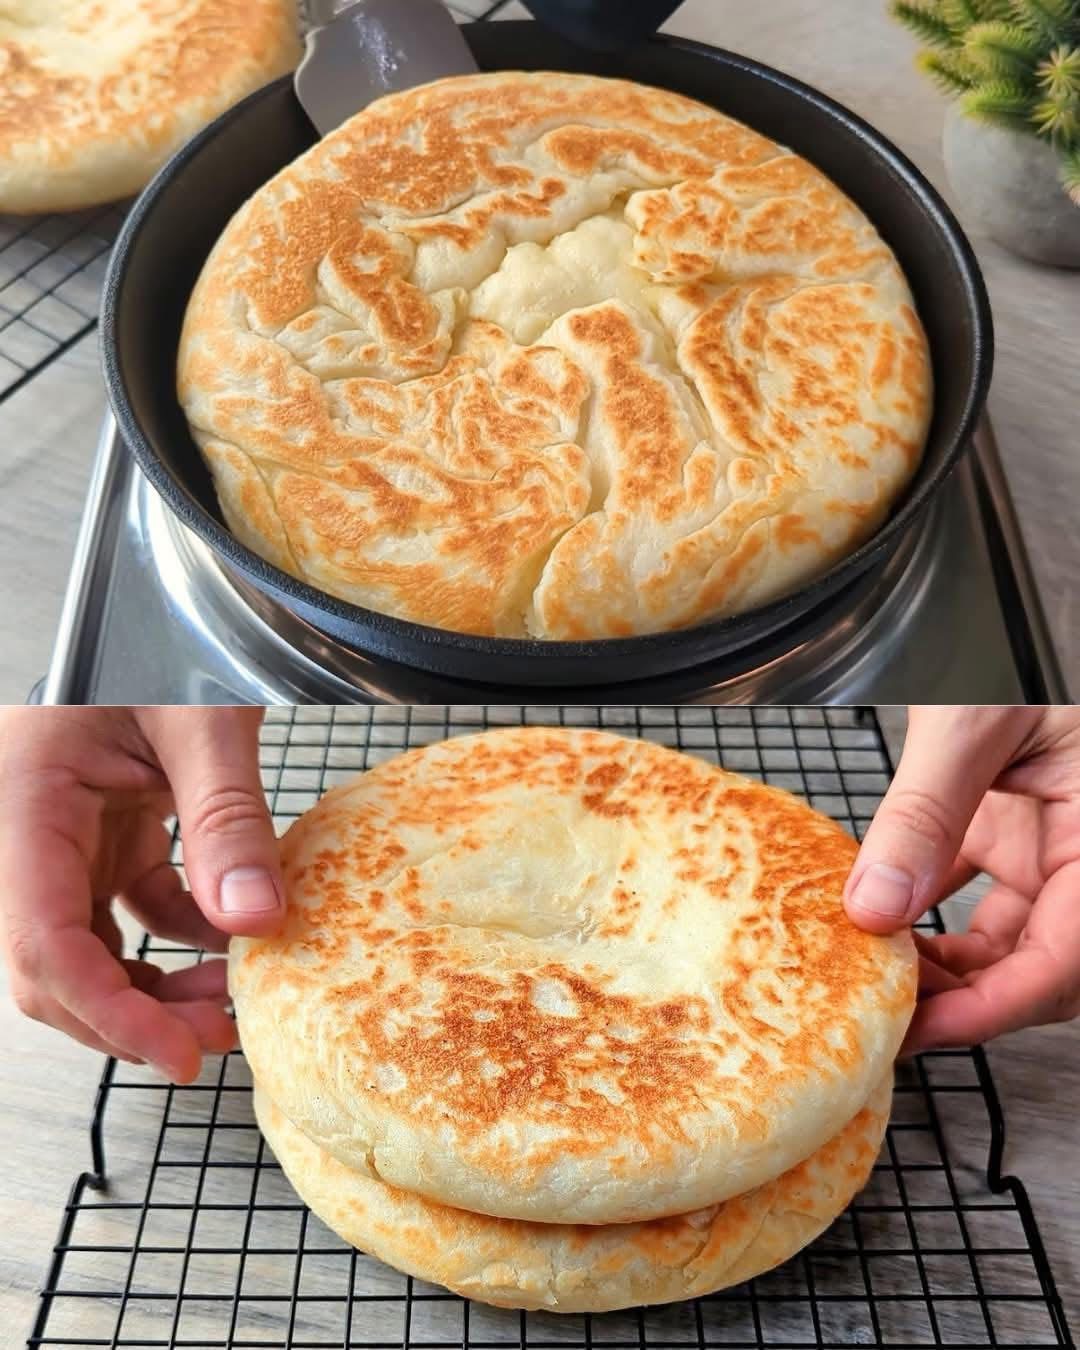
Who says you need an oven to bake delicious bread? This No-Oven Pan Bread is proof that incredible, soft, and fluffy bread can be made right on your stovetop. With a golden, slightly crispy exterior and a pillowy, tender inside, this bread is perfect for breakfast, sandwiches, or simply enjoyed warm with butter and jam. The recipe uses simple ingredients—flour, water, milk, yeast, and oil—and comes together quickly with no fancy equipment required. It’s a foolproof method that has stood the test of time, delivering bakery-quality bread in a fraction of the time. Whether you’re a beginner baker or a seasoned pro, this recipe will become a staple in your kitchen.
Ingredients
· 1 cup warm water (200 ml)
· 1 tbsp yeast (10 grams)
· 4 tsp sugar
· ⅓ cup vegetable oil (60 ml)
· 1 cup warm milk (200 ml)
· ½ tsp salt
· 5–6 cups all-purpose flour (approximately, plus extra for kneading)
· Optional: 1 egg, beaten (for a shinier crust)
· Optional: Sesame seeds, nigella seeds, or poppy seeds for topping
Instructions
Step 1: Activate the Yeast
In a large bowl, combine the warm water, yeast, and sugar. Stir gently and let it sit for 5–10 minutes until foamy and bubbly. This proves the yeast is active.
Step 2: Add the Wet Ingredients
Add the warm milk, vegetable oil, and salt to the yeast mixture. Stir to combine.
Step 3: Make the Dough
Gradually add the flour, 1 cup at a time, stirring with a wooden spoon or your hands until a soft dough forms. You may not need all the flour—add just enough until the dough pulls away from the sides of the bowl and is no longer sticky.
Step 4: Knead
Turn the dough out onto a lightly floured surface. Knead for 8–10 minutes, until the dough is smooth, elastic, and soft. Alternatively, use a stand mixer with a dough hook for 5–6 minutes.
Step 5: First Rise
Place the dough in a lightly greased bowl, turning once to coat. Cover with a clean kitchen towel or plastic wrap and let it rise in a warm place for 1–1½ hours, until doubled in size.
Step 6: Shape
Punch down the dough to release the air. Turn it out onto a floured surface and divide it into 2–3 equal portions (depending on the size of your pan). Shape each portion into a smooth ball, then flatten it into a disc about 1 inch thick.
Step 7: Second Rise
Cover the discs with a towel and let them rise for another 20–30 minutes, until slightly puffed.
Step 8: Cook on the Stovetop
- Heat a large non-stick skillet or cast iron pan over medium-low heat. Lightly grease with a little oil or butter.
- Carefully place one dough disc into the pan. Cover with a lid and cook for 5–7 minutes, until the bottom is golden brown and the top is puffed.
- Flip the bread using a spatula. Cover again and cook for another 4–5 minutes, until the other side is golden and the bread is cooked through. It should sound hollow when tapped.
- Repeat with the remaining dough discs, greasing the pan as needed.
Step 9: Cool and Serve
Transfer the bread to a wire rack to cool slightly. Serve warm with butter, jam, honey, or cheese.
Methods
Method 1: Stovetop Skillet (as written above)
Best for a soft, fluffy bread with a golden crust and no oven required.
Method 2: Oven-Baked Version
If you prefer, bake the shaped dough on a greased baking sheet at 375°F (190°C) for 20–25 minutes, until golden brown.
Method 3: Air Fryer
Preheat the air fryer to 350°F (175°C). Cook the dough disc for 10–12 minutes, flipping halfway, until golden and cooked through.
Method 4: Stuffed Bread
Before shaping, flatten the dough, add a filling (cheese, spinach, ground meat, or jam), seal, and then cook as directed.
History
Stovetop bread, also known as pan bread or griddle bread, is one of the oldest forms of baking in human history. Before the invention of ovens, cultures around the world cooked flatbreads and risen breads on hot stones, griddles, and pans. From Middle Eastern taboon bread to Indian naan, Scottish bannocks, and South American arepas, stovetop bread has been a staple in virtually every culture. This particular recipe—a soft, yeasted, milk-based bread cooked in a covered skillet—is popular in many home kitchens as a quick alternative to oven baking. It’s especially beloved in regions where ovens are less common or where home cooks want fresh bread without the wait. The technique of covering the pan traps steam, creating a soft interior while the direct heat creates a golden crust.
Benefits
· No Oven Needed: Perfect for small kitchens, hot climates, or when your oven is broken.
· Quick and Easy: Ready in about 30 minutes of active time.
· Simple Ingredients: Flour, water, milk, yeast, sugar, oil, and salt.
· Budget-Friendly: Costs pennies per loaf.
· Soft and Fluffy: The milk and oil create a tender crumb.
· Versatile: Great for sandwiches, dipping, or eating plain.
· Kid-Friendly: Fun to make and eat.
· Freezer-Friendly: Freeze cooled bread for up to 3 months and reheat in a pan or toaster.
Variations
· Whole Wheat: Substitute 2 cups of all-purpose flour with whole wheat flour.
· Herb Bread: Add 1 tbsp dried rosemary, thyme, and garlic powder to the dough.
· Cheese Bread: Fold in 1 cup shredded cheddar cheese before shaping.
· Sweet Bread: Add 2 tbsp honey and 1 tsp cinnamon to the dough.
· Stuffed Bread: Fill with cheese, spinach, or ground meat before cooking.
· Sesame-Topped: Brush with egg wash and sprinkle with sesame seeds before cooking.
· Milk-Free: Replace milk with water or plant-based milk.
Conclusion
This No-Oven Pan Bread is a game-changer for anyone who loves fresh, homemade bread but doesn’t want to turn on the oven. With a soft, fluffy interior and a golden, slightly crispy crust, it’s delicious for breakfast, lunch, or dinner. The recipe is simple, forgiving, and endlessly adaptable—you can add herbs, cheese, or sweeteners to make it your own. Whether you’re a busy parent, a beginner baker, or someone who just appreciates a good loaf of bread, this recipe delivers every time. Serve it warm with butter, and watch it disappear.
For the Lovers
For those who truly adore this bread, here are the best ways to enjoy it:
· The Breakfast Classic: Serve warm with butter, honey, or jam.
· The Sandwich Star: Slice and use for sandwiches, burgers, or wraps.
· The Dipping Bread: Tear and dip into soups, stews, or olive oil with balsamic vinegar.
· The Stuffed Treat: Fill with cheese, meat, or vegetables for a savory pocket bread.
· The Leftover Lover: Store in an airtight container for 2 days, or freeze for up to 3 months. Reheat in a skillet or toaster.
· The Gift: Wrap in a clean kitchen towel and share with neighbors and friends.
Final Methods Recap
· Method 1: Stovetop Skillet—cook covered over medium-low heat for 5–7 minutes per side, until golden and cooked through.
· Method 2: Oven-Baked—bake at 375°F (190°C) for 20–25 minutes.
· Method 3: Air Fryer—cook at 350°F (175°C) for 10–12 minutes, flipping halfway.
· Method 4: Stuffed Bread—add filling before shaping, then cook as directed.